
Loading the latest stories…
Multiple color changes in a warp can be frustrating. If your warp repeats, you may find this shortcut useful.
Susan E. Horton3 min read
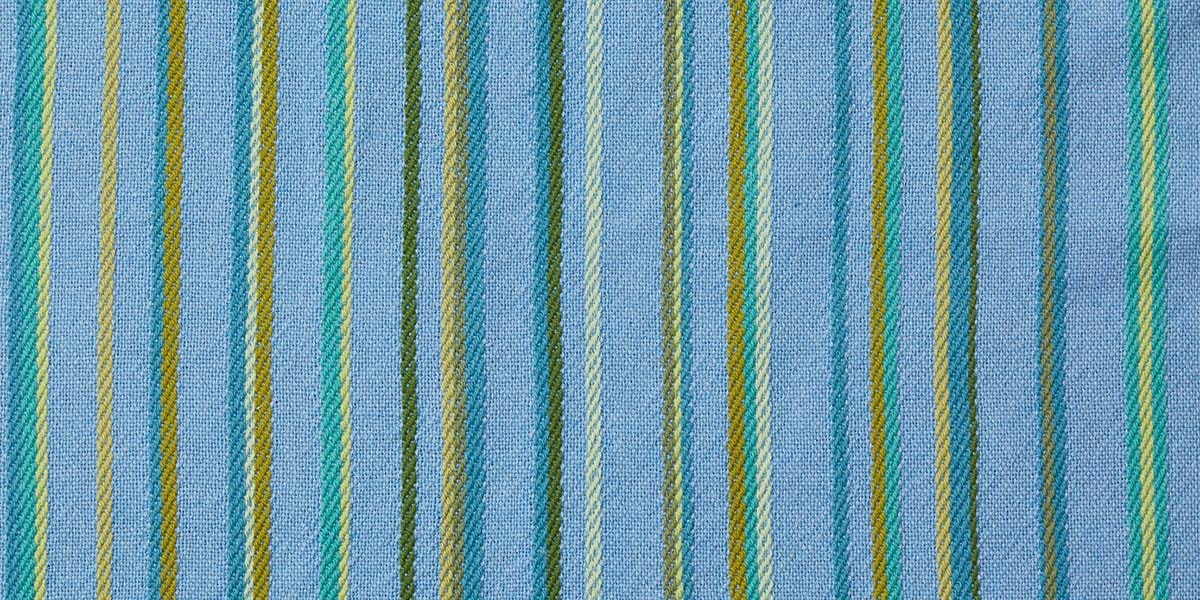
Lately I’ve been noticing a lot of intricately striped warps. Some almost seem as if they are hand-dyed in the way that the colors wash across them. Others, when looked at more closely, appear to be based on a mathematical formula such as the Fibonacci sequence in which the formula determines how the colors are arranged across the warp’s width—sometimes parading across it, and other times repeating in mirror or straight repeats. Still others seem to have colors that are randomly arranged.
Any weaver will tell you that a striped warp is more time-consuming to wind, and even though I love to wind warps, I will sometimes hesitate to start a project that has a lot of fiddly color changes. I know I’m not alone; quite a few times I’ve noticed Handwoven project authors will sort of apologize in their articles for their complicated warp striping with statements such as “It’s worth it” or “Wind small sections at a time.”
This all leads me to one of my favorite weaving tricks: cutting a warp in half. I heard someone suggest this approach once at a guild meeting 25 years ago, and I’ve been doing it ever since. It may very well be applicable to warping back-to-front (I haven’t figured that out), but I use it effectively when warping front-to-back. 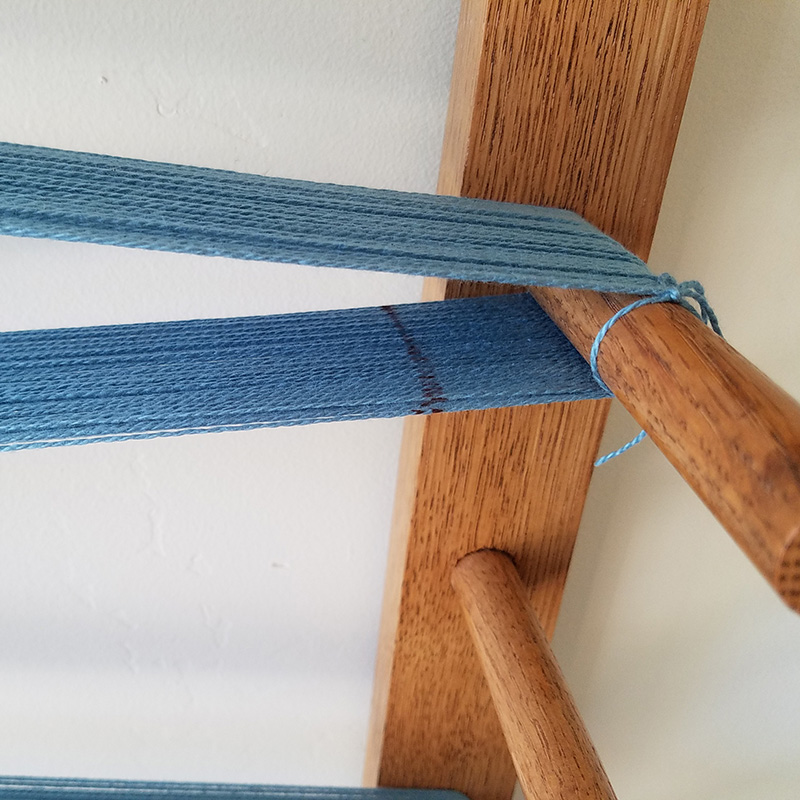
I measure twice to find the exact middle, mark my warp with ink, and cut straight across with sharp scissors. Photo by Susan E. Horton
• Your warping mill or board must be large enough to accommodate a warp that is twice the length of your intended warp length. My warping board can hold 12 yards, so I use this technique for warps that are less than 6 yards long.
• The warp colors must repeat in some way, whether it is a mirrored repeat or a straight repeat. That means the beautiful color washes I was talking about at the beginning won’t work with this method.
• There is a little bit of math involved, but you knew that didn’t you?
• You can cut your warp in half for part of a warp or all of a warp. In other words, you can mix and match.
• It saves you from having to cut and tie a gazillion times. Half a gazillion is much better.
That’s it in a nutshell. Now I just need to figure out how to do it for back-to-front warping, too. Stay tuned!
Weave well,
Susan
P.S. Now I know! Here is what Sara Von Tresckow told me: "This is even easier for 'back to front' (which I learned in Europe as simply 'warping a loom'). You do the double length wind on the board or mill with two crosses. When, WITHOUT CUTTING, you simply put both cross ends (the loops) on the tie-on stick and raddle, and wind. When you get to the middle, you'll have plenty of opportunity to cut the center and everything is ready to thread."
Published December 5, 2019 Revised: November 27, 2023.
More from Handwoven
From the Library




Comments
No comments yet — be the first to share your thoughts.
Sign in to join the conversation — commenting is for signed-in members.