
Loading the latest stories…
Hemstitching creates a neat, secure edge that helps prevent your weaving from unraveling.
Handwoven Editors1 min read
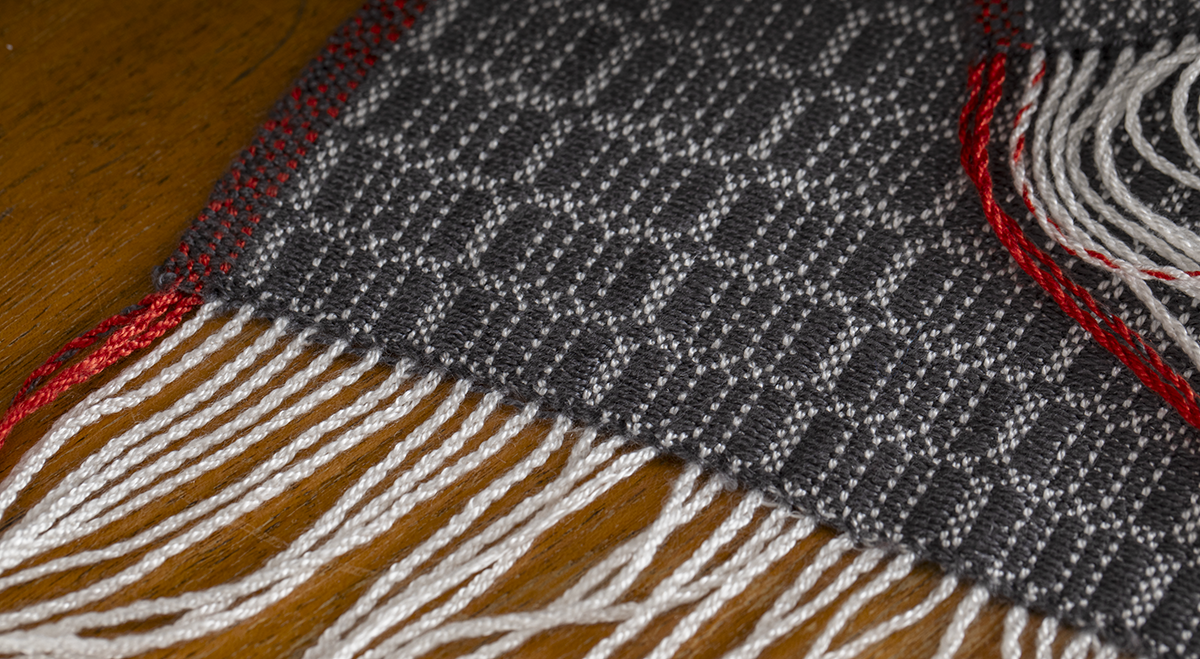
At the beginning of a piece (below, left): Leaving a weft tail three times the warp width, weave several picks of plain weave (or the basic structure of the piece), starting with the shuttle on the right side if you are right-handed or the left side if you are left-handed. Thread the tail into a blunt tapestry needle.

Take the needle around the specified number of warp ends at the selvedge, and bring it up straight up and through the fabric two (or more) weft threads above the fell. Take the needle diagonally across the next group of warp ends and wrap them at the fell line. Bring the needle straight up and through the fabric and continue, wrapping each group of ends across the warp. Needle-weave the tail into the selvedge and trim.
At the end of a piece (above, right): Using a weft tail three times the warp width, repeat the process of wrapping the specified number of warp ends in each group at the fell line, stitching straight down through the fabric, and wrapping the next group of warp ends..
When the piece is still on the loom. While you can hemstitch a piece after removing it from the loom, the process is easier when the warp is under tension.
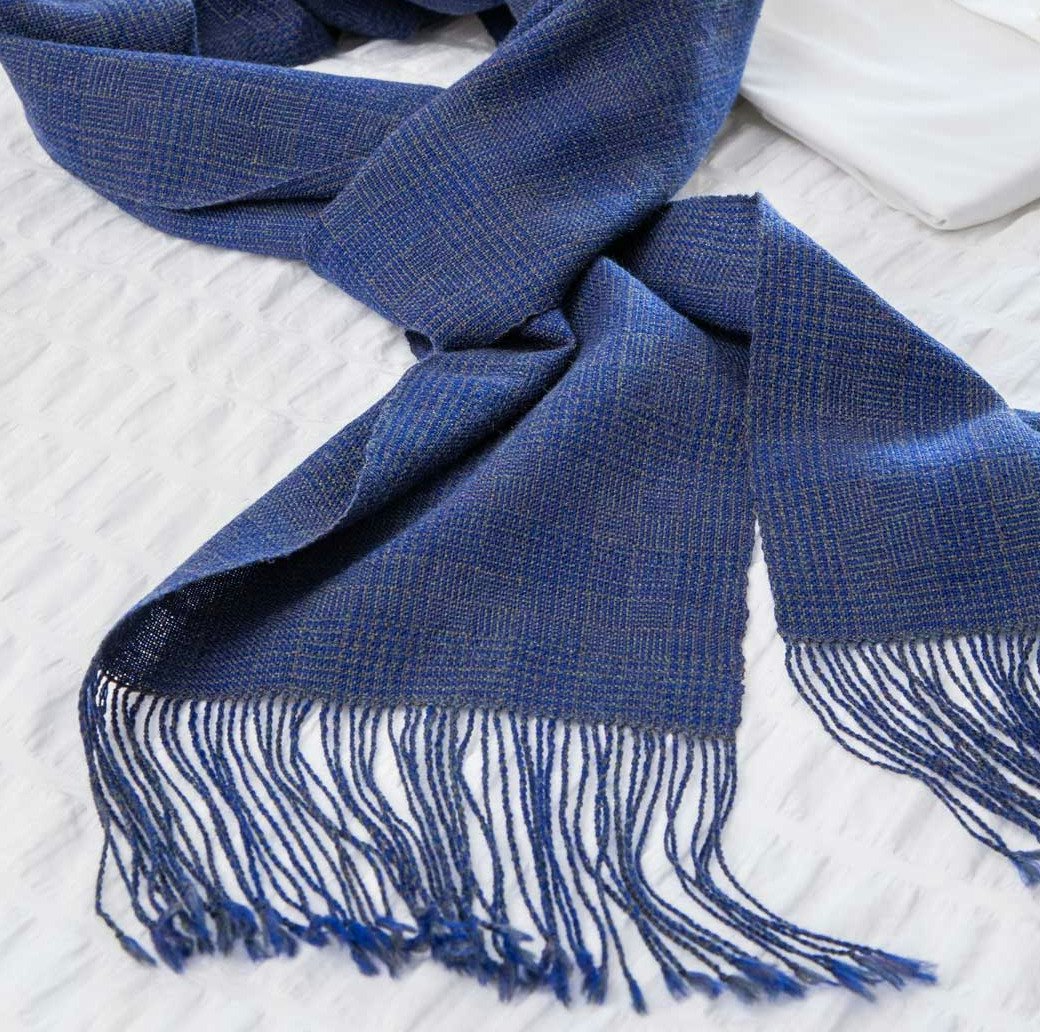
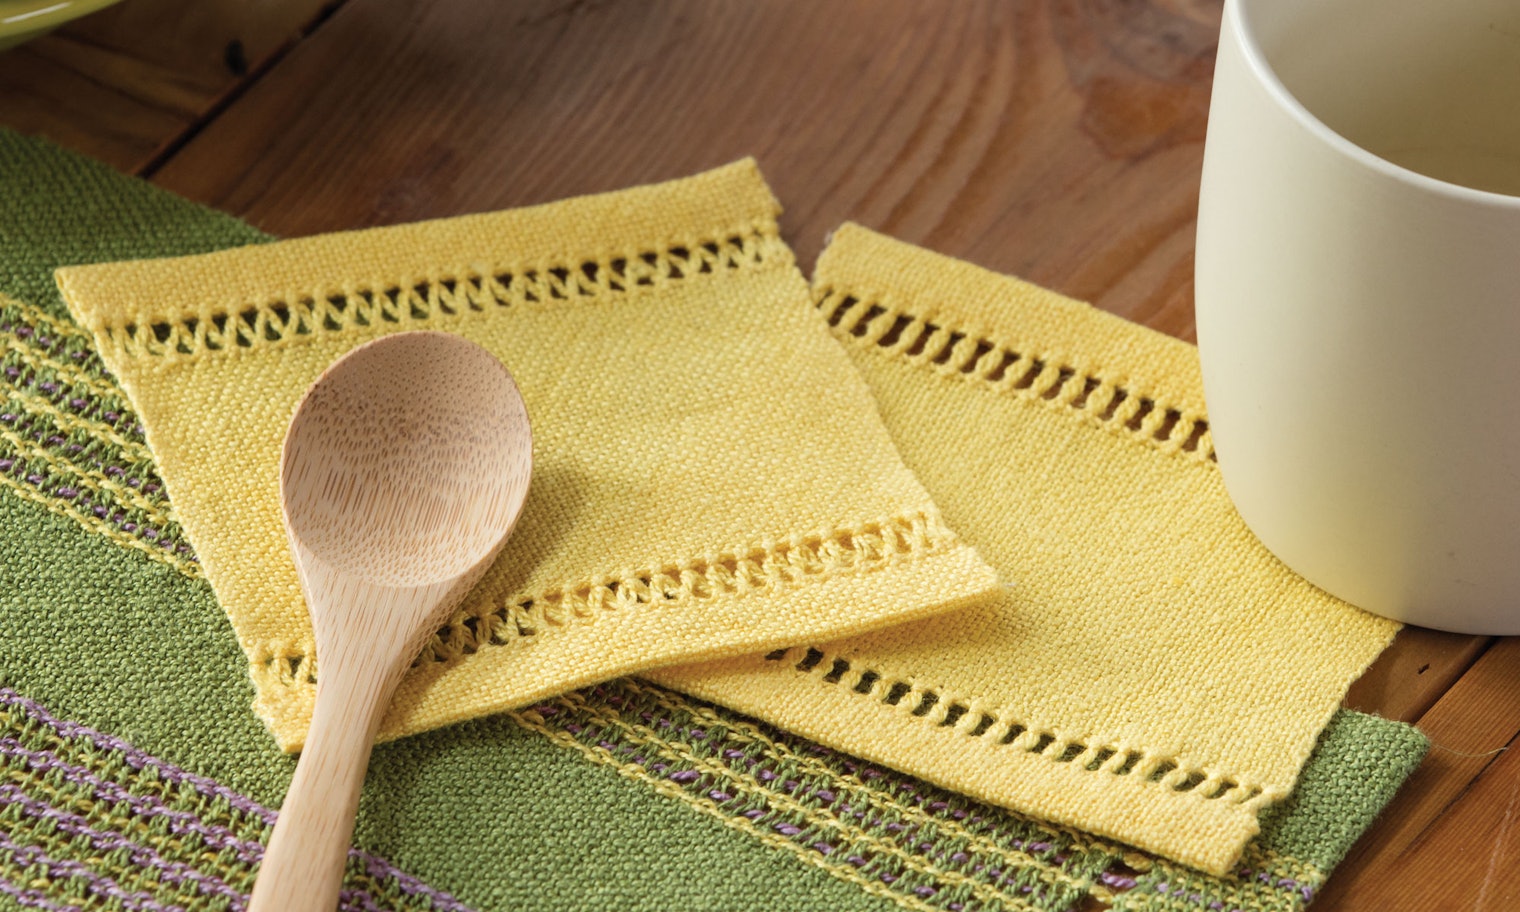
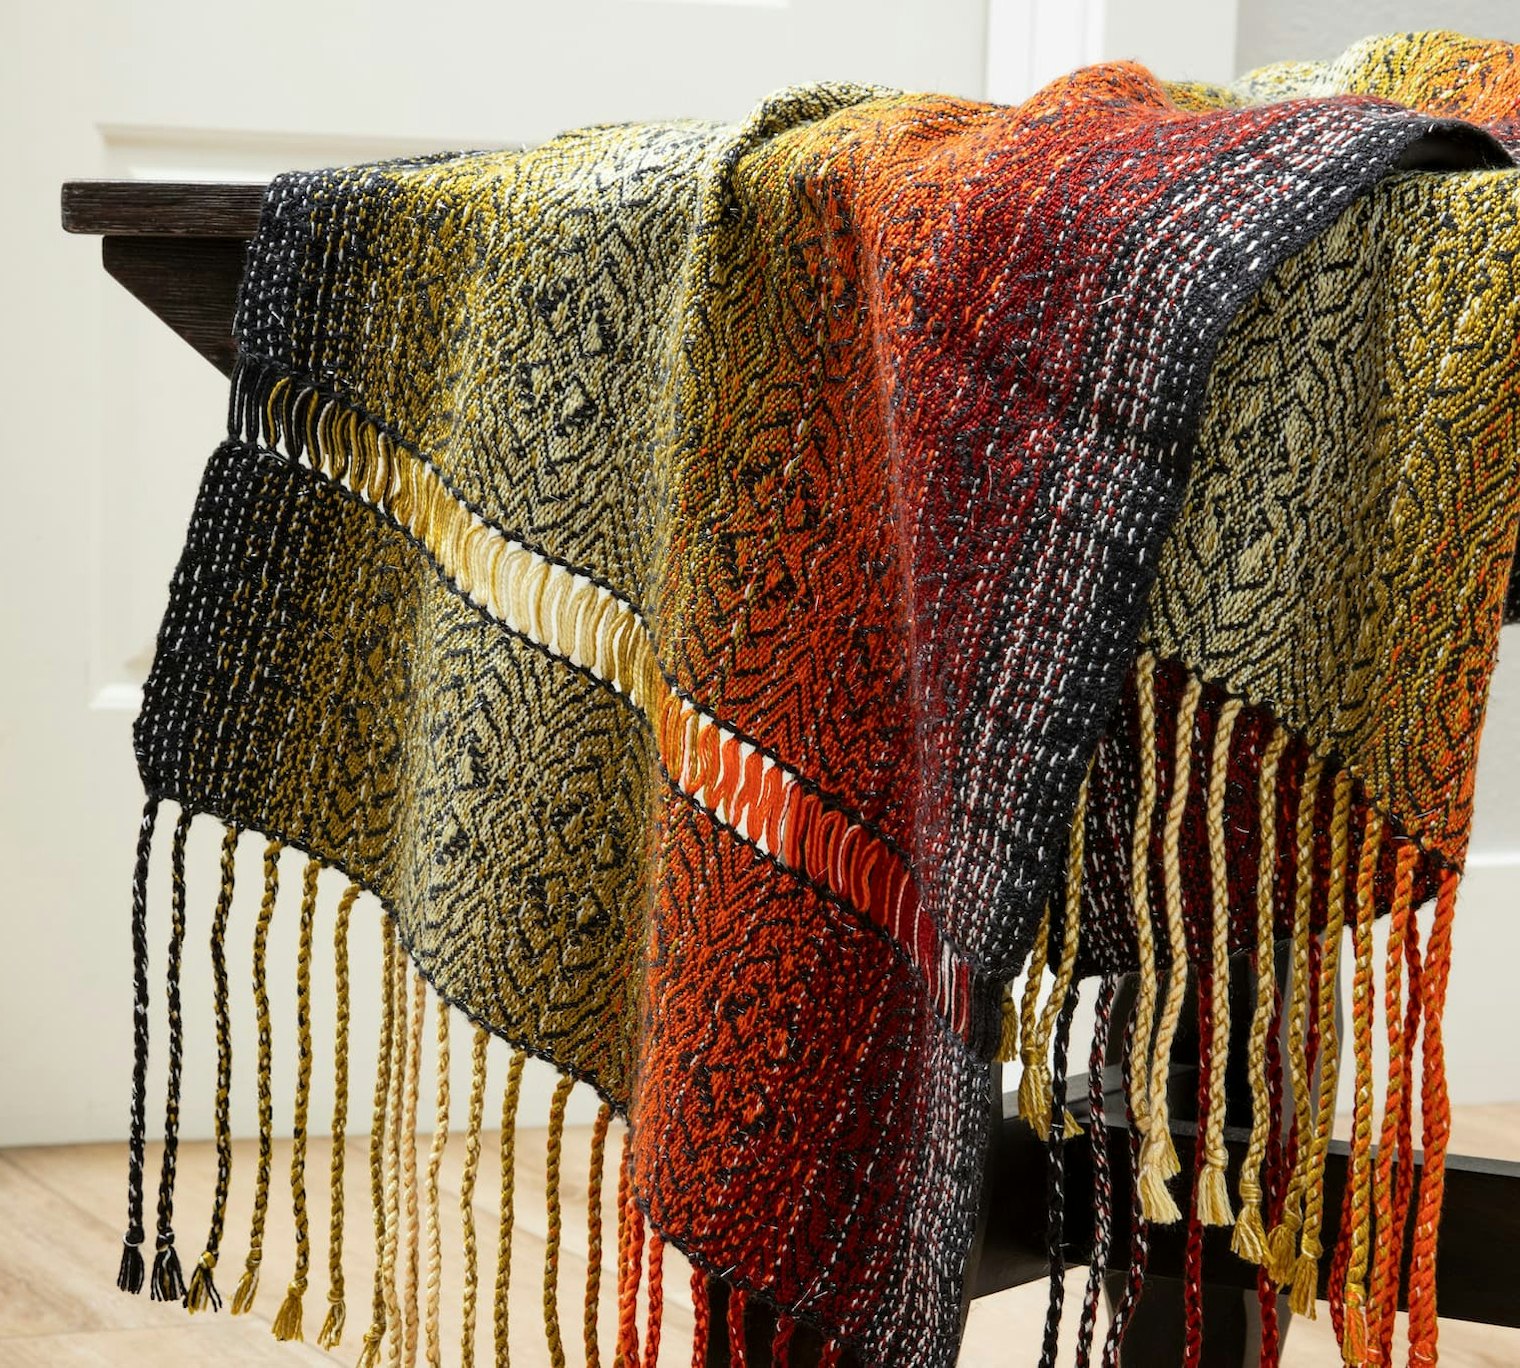
Click any image to enlarge
When you plan to fringe the ends—especially if your warp is a little slippery. Hemstitching will keep the weft where it belongs and give your finished piece a clean look, whether you twist the fringe or not.
For an heirloom look. A line or two of hemstitching gives an elegant touch that shows off your work.
For a dramatic effect. Use hemstitching to set off a special warp.
MAKE THE PROJECTS
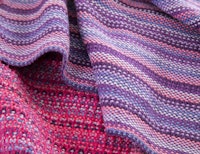
City Chic Scarf by Susan Capehart (at top)
Sunday Best Scarf by Malynda Allen
Summer Mug Rugs by Suzie Liles
Monarch Scarf by Samantha Haring
More from Handwoven
From the Library




Comments
No comments yet — be the first to share your thoughts.
Sign in to join the conversation — commenting is for signed-in members.